Learning techniques with Cinema 4D
Creating Shapes
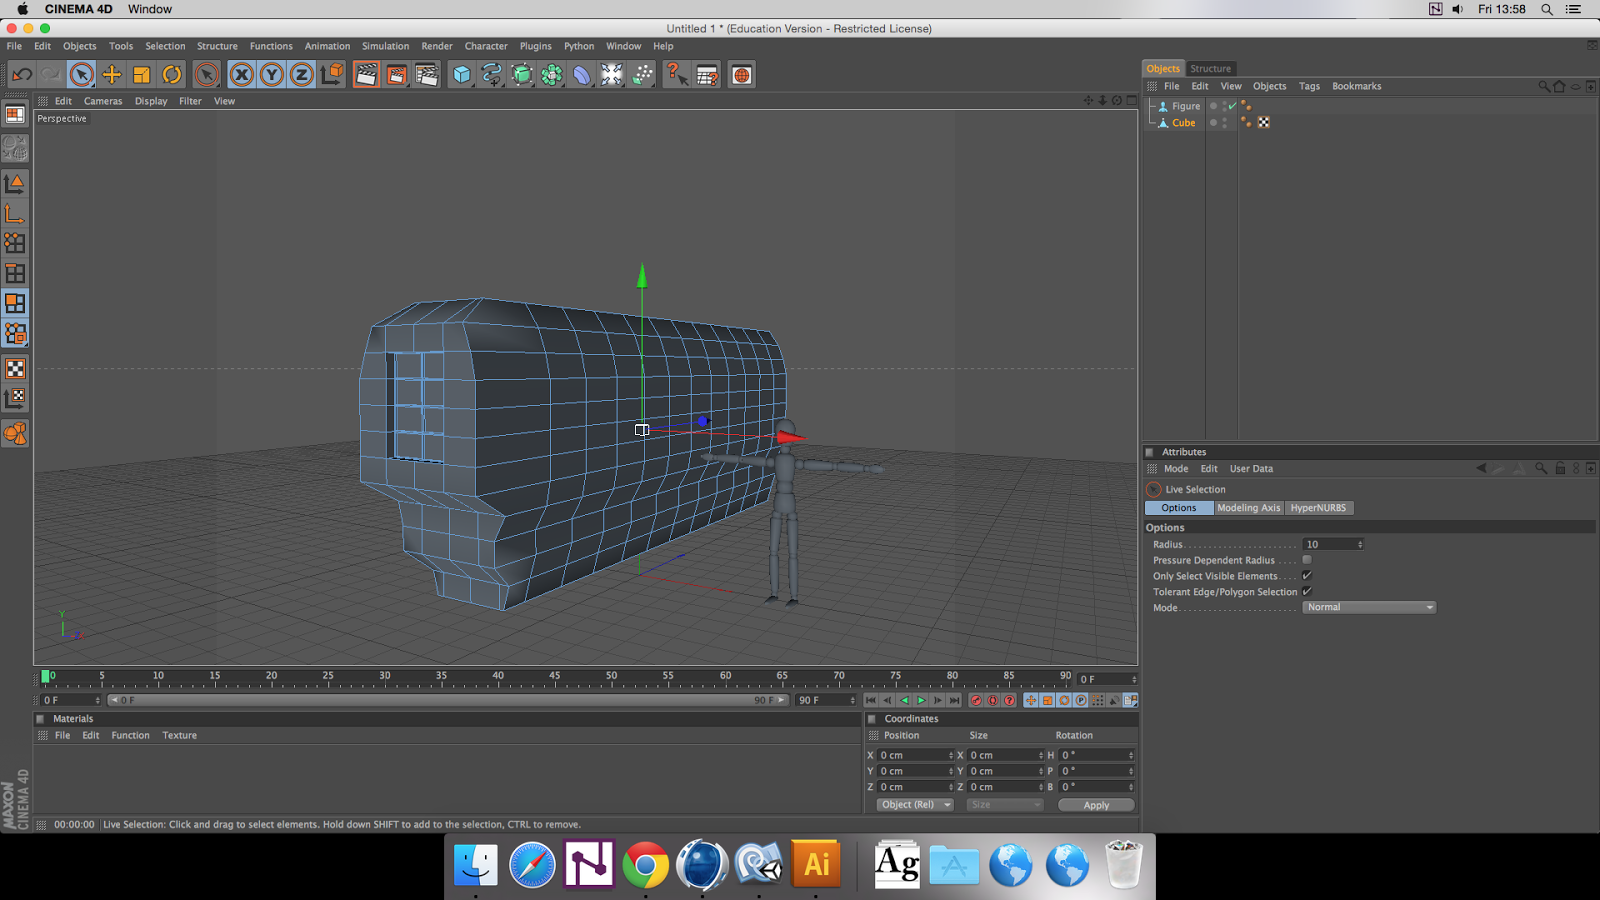
For me to understand how to use Cinema 4D I must first understand how it works. I looked through the tools and found a 'Add Cube Object' button, which gave me the options shown below.

I found out how to add materials by clicking the create button near the bottom left corner of the the program and then 'New Material' button. This allows me to change the physical look towards an object, so I had played around with the settings to see what was possible.

Below of several materials I had created and put on shapes to see what they looked like when I had rendered them. I had found that you could apply several materials onto one object and have them overlap on each other to create some interesting results.

The final rendering of the image.


Creating models
Creating Shapes
For me to understand how to use Cinema 4D I must first understand how it works. I looked through the tools and found a 'Add Cube Object' button, which gave me the options shown below.

I found out how to add materials by clicking the create button near the bottom left corner of the the program and then 'New Material' button. This allows me to change the physical look towards an object, so I had played around with the settings to see what was possible.

Below of several materials I had created and put on shapes to see what they looked like when I had rendered them. I had found that you could apply several materials onto one object and have them overlap on each other to create some interesting results.

The final rendering of the image.

I had changed the background to a checker board instead to brighten up the image.

Creating models
In this lesson I had to learn how to create models using a series of cube shapes and a process called a 'HyperNURB'. The 'HyperNURB' allows me to create an object that may have a low polygon count and then smooth it out without the need of me having to do it myself, which would take a lot more time to do.

After fulling building the 'Sackboy' character I had put a texture onto him. This texture is the same a the default skin for 'Sackboy' in 'Little Big Planet', I chose it so that people that would look at this would recognize him immediately.

I then created a floor to put the 'Sackboy' on and then put it through rendering. I chose red for the floor and then later changed it, as it wasn't too appealing when put against the brown texture. I also adjusted the lighting as at first it was appearing too strong onto the 'Sackboy'.


This was the final rendering for the 'Sackboy' before I went on to learn about how to give it a bones structure in order for me to animate it.

Animation
For me to begin animating this 'Sackboy', I needed to give it a skeleton. To do this I used the 'Joint tool' that is within Cinema 4D. This allowed me to create a structure within the 'sackboy' that would give me the ability to move it by rotating each point. Before the joints take effect I first need to bind them to the object body in order for any animation to be able to take effect.

 |
| The Bind Tool |
I had to make sure that the skeleton was inside of the 'Sackboy' and not behind as it would not work properly otherwise.


I took several screenshots to show several animation frames from the final render. It took me awhile to figure out how to use animation tools within Cinema 4D, but after a while I got the hang of it and had created a successful 2 second animation. I later turned it into a gif to show it on repeat.


Research into 3D Animation Industry
Architecture industry
In the architecture industry some companies would hire a 3D Modelist to create virtual animated representations of projects that a architectural company may want to build in order to promote and further expand their company by creating appealing products. For example the company 'Spline 3D' focuses it's priority on showing off it's showreel on it's website in order to convince architectual companies to contact them for renderings, as seen here [https://vimeo.com/97870234 , http://spine3d.com/about/demo-reel/]. Companies like this may use programs, such as, Photoshop, unreal engine, unity, Cinema 4D in order to create there renderings to a professional level. It is important for companies such like 'Spline' to keep to a professional level, as there is always tough competition in the rendering market, not only that, but also that there is a lot of money riding on each particular project.

(http://3dyantram.info/images/3d_exterior_design.jpg)
Advertising Industry
The advertising industry uses various types of 3D and 2D animation depending on what the company wants to get across in their animation. The choosing factors could be: Is it suitable. would it still relate to the design and style, does it improve the overall look of the product advertising. Companies like hastings direct, 'confused.com', moonpig and some international companies like, Morinaga and Softbank like to use animation techniques within their adverts to make it more convincing to the viewers.
(https://www.youtube.com/watch?v=B2TjA_hKsps)
In this Hastings advert, the information that the company wants to get across is spoken by animated models in order to make it seem more interesting or appealing due to it's surreal feeling. The use of the animation is very different to regular insurance adverts, which is what makes it more appealing to the viewer and I could say that it does have a better effect on myself rather than if it didn't use animations.
(https://www.youtube.com/watch?v=VjyDyyWsZ80)
Morinaga attempts to presuade the viewer in buying this product by having several people eat the product and then get hit by a strawberry to imply that the sweet has a interesting taste that hits you immediately after eating it. Halfway through they show the green screening steps they took with a strawberry on a stick to make the advert quite humorous as well. Without this use of animation I don't believe the product would sell as well as it currently does.
Gaming Industry
Animation is used throughout the gaming industry to craft professional looking models the move realistically. The gaming industry is composed up of two different parts, the 2D video game sector and 3D Video game sector. Both being professional in their own space. The 2D games sector uses animation to display movable characters, Scenic story cut scenes and animated terrain. 3D animation uses models with 'rigged' skeletons inside them to create realistic human models.
(https://www.youtube.com/watch?v=ywemue1RkKI)
Unlike other industries where companies focus on products, The gaming industry typically focuses on 3D animation as an essential step towards professional creating story through character's body language and scenic interaction.

(https://thewarfist.files.wordpress.com/2015/08/ts-future-perfect-gameplay.png)
Proposal
Working title:
Space Warp Hex
Target Market:
The target market for my project could possibly be for most ages consisting from 15+ onwards, as the may consist of explosions and action, so I would need to be cautious towards who I aim this towards so that I don't affect the wrong people and consider the ethical standard of the animation.
What will you be working towards producing:
For my animation to be successful I will need to at least create 30 seconds of content that would be appealing towards the target market. The animation will hopefully consist of a spaceship warping through space and then reaching it destination to where things where not as expected to the people onboard the spaceship. For me to do this I will need to model a spaceship and possibly planets.
I also want to incorporate rigging characters or spaceships in order to have a variety of different animation techniques within my own project. I will need to also consider camera techniques in order to interest people further within the project.
Influences, starting points and contextual references:
My early influences include videos games from 2000-2010, such as, Timesplitters and a mod called sunrise(Now renamed Devinity 2), which itself was inspired by and MMO called EVE. Films from 1970's onwards play an important role in my inspiration as well as sci-fi boomed heavily back then, one of my favourites Blade Runner. By looking at these games I could build a basic understanding into how animation works within those games and possibly learn those techniques.
 |
| Moodboard of the Timesplitters series |
 |
| EVE Online moodboard |
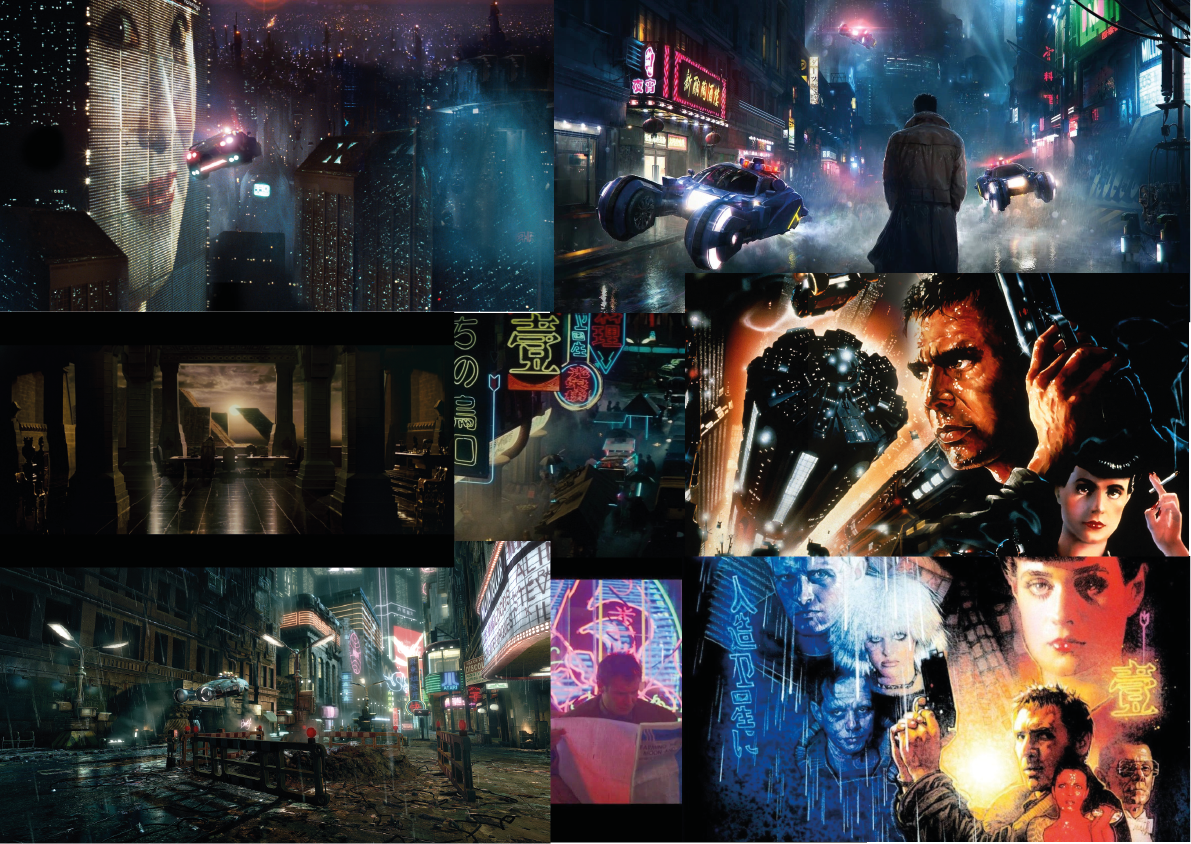 |
| Blade Runner Moodboard |
Below are some videos created by the developers of Devinity 2 in order to showcase their work that they had done during that time. The following shows effects of warping, engine trail, plants and UI created by the developers.
Looking at these gives me inspiration into how I could craft my animation. I would need to begin by creating my own models and materials in order to begin the animation process.
 |
| Dreadnought spaceship moodboard. |
Early idea research and sources:
For me to be able to create this animation I must first learn how to create spaceship models and planets so that I have models that I can begin animating, below are several videos that I had a look at to learn some techniques about.
Intended techniques, non digital and digital processes:
In this project I plan to use a range of software in order to successfully hit my targets and create the animation that I had envisioned. In this project I will need to show my understanding of successful creation of animation, model and material creation as well.
I will be using 'Cinema 4D' mainly for this project for the use of animation and model creation. For these techniques I will need to consider very carefully what sort of programs I would need to use as it would be no easy task. I will use 'Cinema 4D' as it allows me to create models within a 3D Environment and successfully animate it in their viewing state as well.

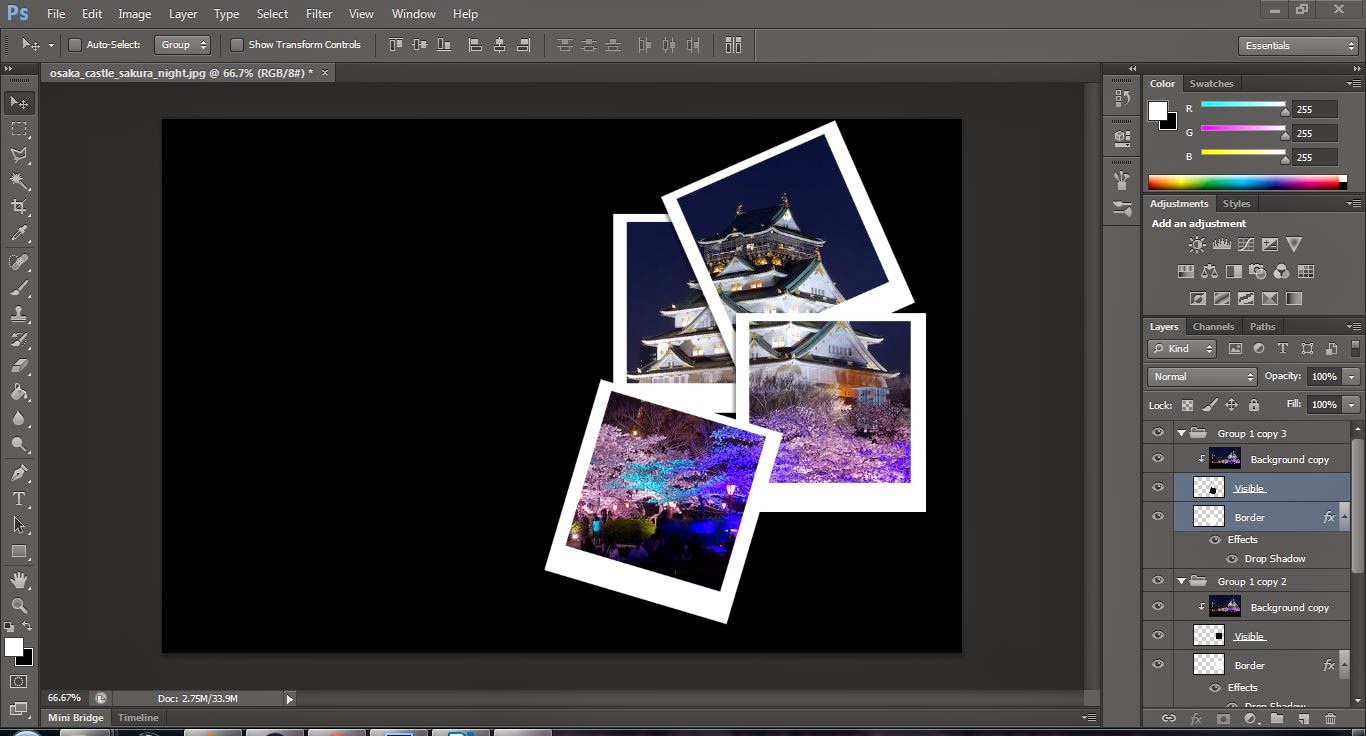
There is a possibility of me using 'Adobe Photoshop' as well, as it gives me an array of techniques to create and edit materials to how I would see fit, as long as I have the knowledge to do so. Below are previous projects that I had worked on for other units that had came out pretty successful.

Timescales:
23/10/15 - workshops to further expand my knowledge within cinema 4D
30/10/15 - Begin writing up my proposal for animation.
07/11/15 - Create models for final animation
13/11/15 - Finish models within the time space for today and begin animation
20/11/15 - Design Animation within Cinema 4D
27/11/15 - Finalize designs in cinema 4d and prepare for evaluation
4/12/15 - Evaluate based on what people thought on my design.
4/12/15 - Evaluate based on what people thought on my design.
Proposed methods of evaluation:
For me to see if my animation was successful, I would need an audience to give me feedback on it. From there on I would be able to make changes to my animation and consider those changes in the future.
I began making up a storyboard for how I want my animation to look like, for me to achieve a successful animation I first have to plan it on a storyboard before I begin creating models as I do not want to run into any problems within the future. For my animation I want to create a story that leaves many questions that makes the viewers want to know more about it because of it's abrupt ending.
I began creating designs that I could use within Cinema 4D, several designs within the image have inspiration from past media. I have chosen to make some draft designs, as I believe that it would help me when I come to create the final design.

Here is another design that I had come up with, the main idea behind this one was for it to have two spikes facing forward, this is to make it look more aerodynamic when in space.

I began creating models from low poly sphere to see if I could come up with any sort of design for the human ship. I attempted to test many different designs and create weird figures from my imagination. In this imagine below I began extruding the sphere to create wings.


It then created this object to where I had found that it did not suit the design I wanted so I began to start again.

I started with a rectangle and began testing out tools to see what I could do within Cinema 4D, what I did here was use the knife tool to create lines on the bottom of the rectangle and the bevel it inwards.

It created this cool shadow effect in the rendered mode.

After learning about the 'Extrude Inner' tool I realised that I could create windows in the front of the spaceship by continuously using extrude and extrude inner to create depth.

I used a person base for comparison for size difference. I began warping the rectangle into a spaceship type shape to begin extruding and bevelling.

At this point I wanted to colour in the glass windows in the front of the spaceship so that I could get a feel towards how it would look in the final stages, I would come back to edit it in the future.

Using the extrude tool I created this shape which I thought would come to suit the style of the spaceship in the future. This part would be where the engines would be held so it had to be the biggest part.

This is what it looks like in rendered mode, it could barely be seen so I had to make some changes towards lighting and shaders in the future.

Further extruding, but this time I extruded the lines rather than whole square to create the wings you can see in this image.

Using the 'Extrude Inner' tool I began to mess about with the top of the spaceship, further editing my design. After looking from this angle I wanted the top to look like a space ship dock for smaller ships.

I used the knife tool to cut into the wings and then moved the cut pieces in order to create these shapes.

I then scaled the spaceship to a colossal size to make it feel really big.
I began making up a storyboard for how I want my animation to look like, for me to achieve a successful animation I first have to plan it on a storyboard before I begin creating models as I do not want to run into any problems within the future. For my animation I want to create a story that leaves many questions that makes the viewers want to know more about it because of it's abrupt ending.
 |
| Proposed plan for the storyboard. |

Here is another design that I had come up with, the main idea behind this one was for it to have two spikes facing forward, this is to make it look more aerodynamic when in space.

I began creating models from low poly sphere to see if I could come up with any sort of design for the human ship. I attempted to test many different designs and create weird figures from my imagination. In this imagine below I began extruding the sphere to create wings.

I then matched the size of these faces with the original size of the polygons.

Afterwards I attempted to change the layers on top of the sphere in order to create a different shape.

It then created this object to where I had found that it did not suit the design I wanted so I began to start again.

I started with a rectangle and began testing out tools to see what I could do within Cinema 4D, what I did here was use the knife tool to create lines on the bottom of the rectangle and the bevel it inwards.

It created this cool shadow effect in the rendered mode.

After learning about the 'Extrude Inner' tool I realised that I could create windows in the front of the spaceship by continuously using extrude and extrude inner to create depth.

I used a person base for comparison for size difference. I began warping the rectangle into a spaceship type shape to begin extruding and bevelling.
At this point I wanted to colour in the glass windows in the front of the spaceship so that I could get a feel towards how it would look in the final stages, I would come back to edit it in the future.

Using the extrude tool I created this shape which I thought would come to suit the style of the spaceship in the future. This part would be where the engines would be held so it had to be the biggest part.

This is what it looks like in rendered mode, it could barely be seen so I had to make some changes towards lighting and shaders in the future.

Further extruding, but this time I extruded the lines rather than whole square to create the wings you can see in this image.

Using the 'Extrude Inner' tool I began to mess about with the top of the spaceship, further editing my design. After looking from this angle I wanted the top to look like a space ship dock for smaller ships.

I used the knife tool to cut into the wings and then moved the cut pieces in order to create these shapes.

I then scaled the spaceship to a colossal size to make it feel really big.

After finishing the base look for the front, I began changing the look at the back of the space ship. I created circles onto the back of the ship as a base for the engines.

Here is how it looks in rendered mode.

I coloured the inner side of the circle blue to give the impression that the engines are currently turned on, with the added use of light effects I have the ability to make it seem more realistic to how engines work.

After having the spaceship to a near finished standard I began working on some designs for an alien spacecraft that would be featured within the animation. I created this design mainly from using the 'matrix tool', which had allowed me to create these tree like branches. I improvised with creating several more and it had brought out the final design for one idea.

Here is another design I attempted to make, by using the pill shape I had extruded and beveled several parts to it which had allowed me to create these weird shapes.

I attempted to apply colour to two of the earlier spacecrafts that I had designed and had been pleased with the colourful render that came out.

Here is another design that I had come up with, for this one I had thought of a high-tech drill like spaceship that would have it's barrels spinning during the animation, but this proved to be too much hassle to keep organised during the entirety of the animation.

With all my models done and my idea in set, I began recording/rendering my animation. It was not an easy task to do as I did not know how to create frames in Cinema 4D. After some research and interface changes I was able to start developing the final rendering. Using the Animator interface I was able to see a clear timeline on my screen that gives me the power to edit to how I please, with time spent reading the buttons within the timeline. I found the capture frame button, which allows me to create a point in the animation to do something different.

Below is an early prototype rendering into what my first scene entailed. There was no editing done at this point so there was not much happening within it.
After the first scene was finished I began rendering the second scene, which had shown the human spaceship arriving at this unknown mysterious planet to where it gets attacked and destroyed. This scene had some problems rendering properly as it would fill up the computer's Random Access Memory(RAM) making it unable to compile the video as it was made leaving only 5 seconds of the end showing. It took me several hours of trial and error to fix this problem and had successfully rendered the second scene ready for editing.

After both videos where rendered I imported them into 'iMovie' for editing to where I added fade-in and fade out effects to certain parts of the video. I also had the scenes transition into each other to show that the camera has changed to another location and to imply that time has passed because of the slow change from scene one to two.

Below is the final video that is ready to present to the class during the evaluation process. During this time I can gain valuable feedback towards what made my animation both good and bad. This will allow me to reflect on my progress over the units time and use my skills towards the future. After the evaluation I went back to the animation to change it, which you can find at the bottom of the page.
Evaluation
After finishing my animation I began showing it to people and had asked them to give me their opinion on what they thought about it and if there were any ways to improve in the future. Dicemaster was pleased with the overall looks and feel towards the animation, but had wanted to know what was going to happen after the fight scene started. I understand what Dicemaster means, as I had left the ending quite sudden, but in a sense it was meant to be this way to make the viewer want to know more, but I do agree with him on the explosion effect as I could not create realistic explosions and only had the option to create the debris. Even with this I did not make it clearly visible to the viewer.


The overall project of creating this animation has been very good, as it has allowed me to learn various techniques within Cinema 4D that I had used within the program. Through random testing with simple blocks I had been able to create these space crafts that have pretty good detail. I had found that my plan to create a story had gone quite closely as planned, with the slight problems that I had had, and had been able to apply certain techniques that would help me in the future.
After reviewing everything I had done, I went back to the animation and remade the second scene to include what people wished to see more, I also did this because I believed the second scene was not up to par with the first part. Below is the final version.
After reviewing everything I had done, I went back to the animation and remade the second scene to include what people wished to see more, I also did this because I believed the second scene was not up to par with the first part. Below is the final version.